Contour Stick: Your Secret to Effortless Facial Definition
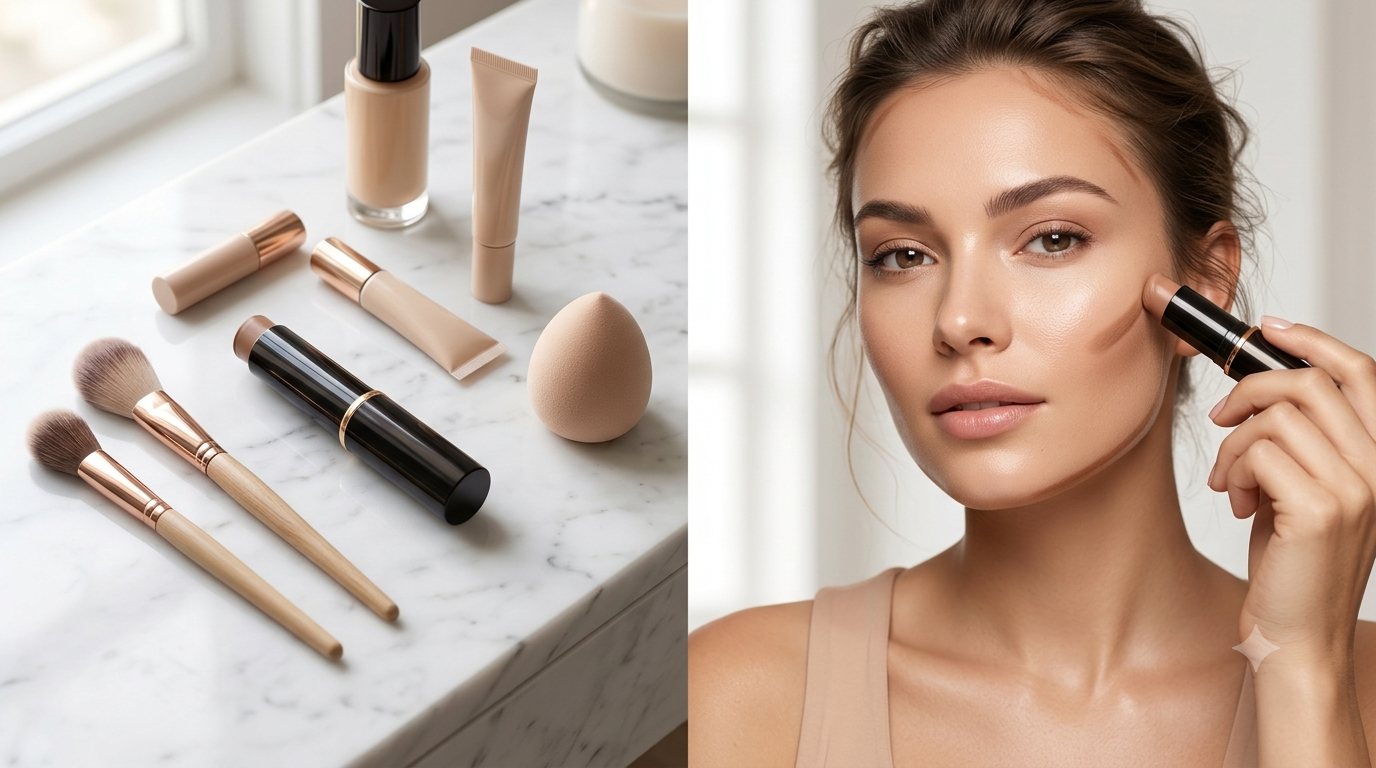
Creating a naturally sculpted face no longer requires professional makeup skills. Thanks to the contour stick, anyone can add dimension, define facial features, and enhance their natural bone structure in just a few minutes. Whether you’re aiming for a subtle everyday look or glamorous evening makeup, a contour stick offers a quick and beginner-friendly way to achieve beautifully balanced facial contours.
Unlike traditional powder contour products, contour sticks feature creamy formulas that glide smoothly onto the skin, making them easy to blend and suitable for various skin types. Their convenient twist-up packaging also makes them ideal for travel, touch-ups, and everyday makeup routines.
This guide explores everything you need to know about contour sticks, including how they work, how to choose the right shade, step-by-step application techniques, blending tips, common mistakes, and answers to frequently asked questions.
What Is a Contour Stick?
A contour stick is a cream-based makeup product designed to create natural-looking shadows on the face. By applying a shade slightly deeper than your natural skin tone, you can define facial features, create the illusion of depth, and enhance the overall shape of your face.
Unlike bronzers, which add warmth and a sun-kissed glow, contour products are formulated with neutral or cool undertones to mimic natural shadows. This helps create a sculpted appearance without looking overly warm or orange.
Most contour sticks come in retractable tubes, making them easy to use without the need for sharpening or additional tools.
Why Use a Contour Stick?
Contour sticks have become a staple in modern makeup kits because they combine convenience with professional-looking results.
Some of the key benefits include:
- Easy to apply directly onto the skin
- Creamy texture blends effortlessly
- Creates natural facial definition
- Beginner-friendly application
- Suitable for everyday and special occasion makeup
- Travel-friendly packaging
- Works well with liquid and cream makeup products
- Provides buildable coverage
Because of their versatility, contour sticks can be used to subtly enhance your natural features or create a more dramatic sculpted effect.
Contour Stick vs. Bronzer
Although contour and bronzer are often used together, they serve different purposes.
| Feature | Contour Stick | Bronzer |
| Purpose | Create shadows and definition | Add warmth and a sun-kissed glow |
| Undertone | Cool or neutral | Warm or golden |
| Placement | Hollows of cheeks, jawline, nose | High points of the face |
| Finish | Sculpted appearance | Healthy glow |
Using both products together can create a balanced, dimensional makeup look.
How to Choose the Right Contour Stick
Selecting the correct contour shade is essential for achieving natural-looking results.
Fair Skin
Choose cool taupe or soft beige shades that create gentle definition without appearing harsh.
Light to Medium Skin
Neutral brown shades work well to mimic natural facial shadows.
Medium to Tan Skin
Rich caramel or soft mocha tones provide natural contouring.
Deep Skin
Deep espresso or chocolate shades enhance facial structure while blending seamlessly into darker complexions.
As a general rule, choose a contour shade one to two shades deeper than your natural skin tone.
Who Can Use a Contour Stick?
Contour sticks are suitable for nearly everyone and can be adapted to different face shapes and makeup styles.
They work particularly well for:
- Beginners learning contour techniques
- Makeup enthusiasts
- Professional makeup artists
- Busy individuals seeking quick makeup routines
- Mature skin, thanks to their creamy texture
- Dry and normal skin types
People with oily skin can also use contour sticks, especially when they set the product with a light dusting of translucent powder.
How to Apply a Contour Stick
Proper placement is more important than using large amounts of product.
Step 1: Prepare Your Skin
Start with clean, moisturized skin. Apply primer if desired, followed by foundation or skin tint.
Step 2: Identify Natural Shadows
Look at your face in natural light and locate areas where shadows naturally appear.
Common contour areas include:
- Hollows beneath cheekbones
- Jawline
- Sides of the nose
- Hairline
- Temples
- Under the chin
Step 3: Apply the Contour Stick
Draw light lines rather than thick stripes.
Less product is easier to blend than too much.
Step 4: Blend Thoroughly
Using a dense makeup brush, beauty sponge, or clean fingertips, blend upward using tapping or circular motions.
Avoid dragging the product across the skin, which can create streaks.
Step 5: Highlight
Apply a lighter concealer to the center of the forehead, under the eyes, bridge of the nose, and chin to enhance contrast.
Step 6: Set Your Makeup
If you have oily skin or want longer wear, lightly set the makeup with translucent powder.
Contouring Different Face Shapes
Round Face
Apply contour beneath the cheekbones and along the jawline to create the illusion of length.
Oval Face
Use light contour around the temples and cheekbones to enhance natural balance.
Square Face
Soften strong jawlines by contouring along the outer edges of the jaw and forehead.
Heart-Shaped Face
Contour the temples and chin to balance facial proportions.
Long Face
Focus on the forehead and chin to visually shorten the face.
Common Contour Stick Mistakes
Even experienced makeup users can make contouring errors.
Avoid these common mistakes:
- Choosing a shade that’s too dark
- Using warm bronzer as contour
- Applying too much product at once
- Skipping blending
- Contouring every part of the face unnecessarily
- Ignoring natural facial structure
- Using the wrong tools
Remember, contour should enhance your features—not dramatically change them.
Best Tools for Blending
The finish of your contour often depends on the blending tool.
Dense Makeup Brush
Provides precise blending with excellent control.
Beauty Sponge
Creates a soft, airbrushed finish.
Fingertips
Useful for quick touch-ups and warming cream formulas.
Many makeup artists use a brush for placement and a sponge for final blending.
How to Make Contour Look Natural
Professional makeup artists recommend these simple techniques:
- Apply product sparingly.
- Blend immediately after application.
- Build intensity gradually.
- Blend upward rather than downward.
- Match the contour undertone to your skin.
- Check your makeup in natural lighting before leaving the house.
Natural contour should be almost invisible while subtly enhancing facial definition.
Cream vs. Powder Contour
Each formula has its advantages.
Cream Contour Stick
Best for:
- Dry skin
- Normal skin
- Natural makeup
- Glowing finishes
Powder Contour
Best for:
- Oily skin
- Matte makeup
- Long-lasting wear
- Layering over cream products
Many makeup professionals combine both for added longevity and definition.
How to Remove Contour Makeup
At the end of the day, thoroughly remove all makeup to keep your skin healthy.
Use:
- Cleansing balm
- Micellar water
- Oil cleanser
- Gentle facial cleanser
Follow with moisturizer to maintain the skin barrier.
Frequently Asked Questions
Is a contour stick suitable for beginners?
Yes. Contour sticks are among the easiest contour products to use because their creamy formulas blend easily and allow gradual application.
Should contour be applied before or after foundation?
Most people apply contour after foundation and before setting powder for a seamless finish.
Can I use a contour stick without foundation?
Absolutely. A contour stick can be applied directly to bare skin or over a tinted moisturizer for a natural, everyday look.
How do I choose the right contour shade?
Select a shade that is one to two tones deeper than your skin with a neutral or cool undertone to mimic natural shadows.
Does contour work on mature skin?
Yes. Cream contour sticks often perform better on mature skin because they blend smoothly and are less likely to emphasize texture compared to powders.
Final Thoughts
A contour stick is one of the most versatile makeup products for enhancing natural facial definition. Its creamy texture, ease of use, and buildable coverage make it suitable for beginners and experienced makeup users alike. By selecting the right shade, applying it strategically, and blending thoroughly, you can create a naturally sculpted look that complements your unique features.
Whether you’re preparing for a busy workday, a special event, or simply experimenting with new makeup techniques, a contour stick offers a simple yet effective way to elevate your beauty routine with minimal effort.