Cream Bronzer: How to Apply, and Blend for a Natural Glow
Introduction
A warm, sun-kissed complexion can add dimension and freshness to your makeup without requiring hours of effort. Cream bronzer is a popular choice for achieving this effect because its smooth texture blends easily into the skin and creates a soft, natural-looking finish. Whether you prefer subtle everyday makeup or a more sculpted appearance, the right formula can help warm up your complexion beautifully.
Unlike many traditional powder formulas, cream bronzers can melt seamlessly into liquid foundation and other cream products. They are available in sticks, compacts, pots, and liquid-like creams, making it easy to find an option that suits your routine.
However, selecting the right shade, using the correct amount, and blending in the right places are important for avoiding muddy patches or overly orange results. This guide explains how cream bronzer works, how to choose one for your skin tone, and how to apply it for a polished finish.
What Is Cream Bronzer?
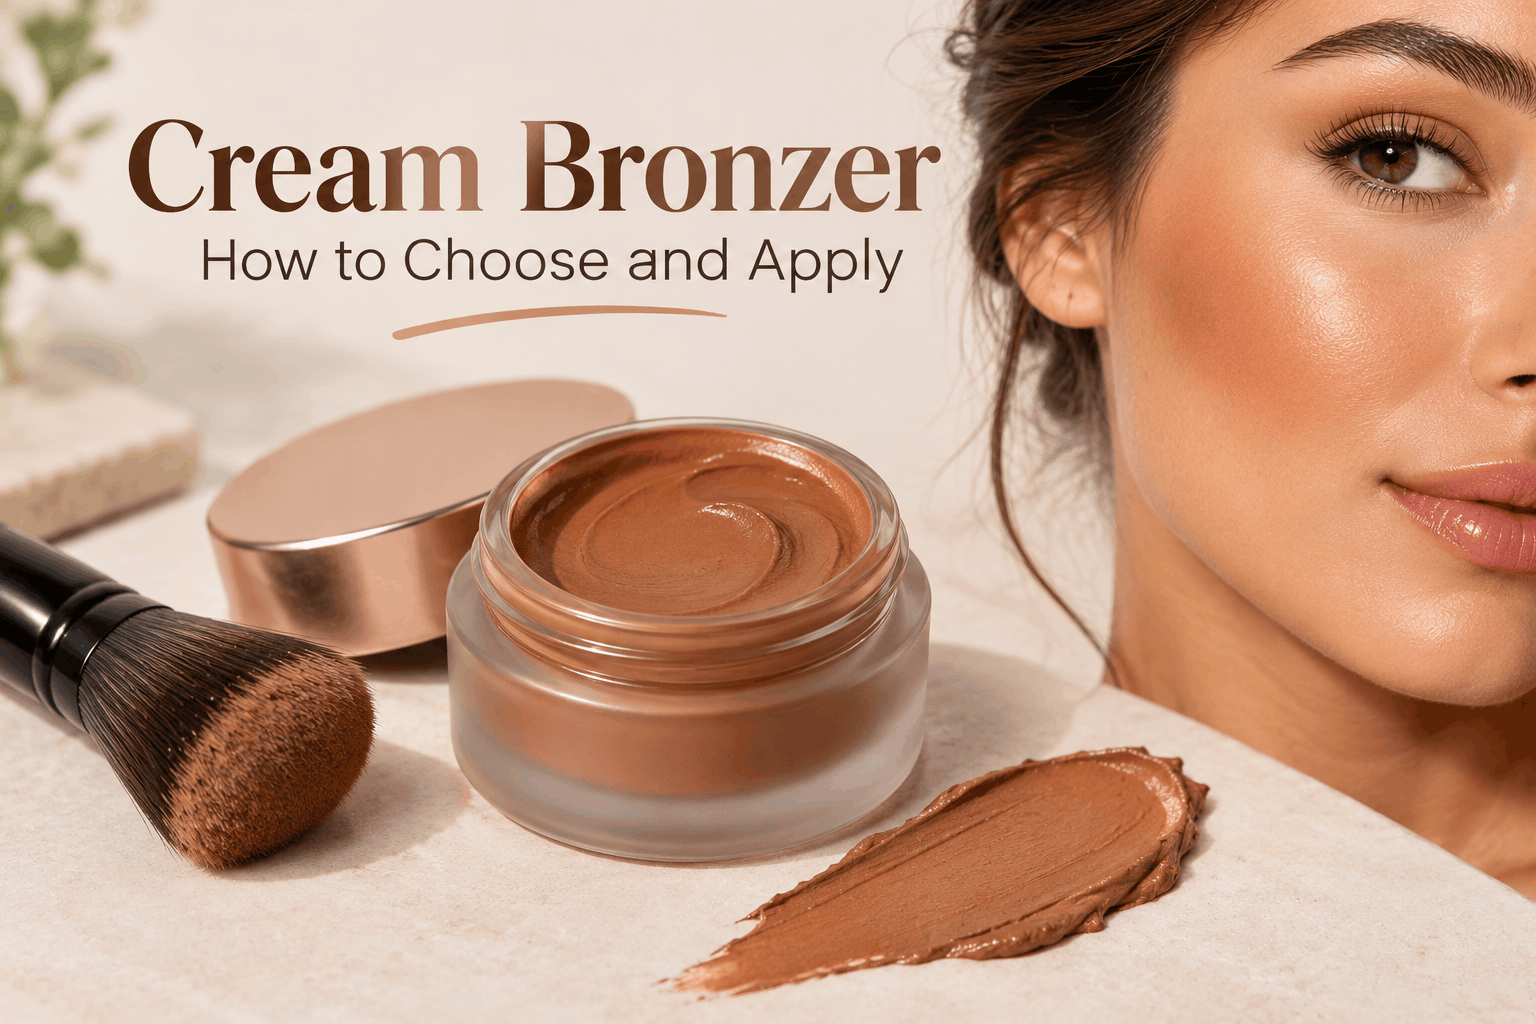
Cream bronzer is a complexion makeup product designed to add warmth and a sun-kissed effect to the face. It usually has a creamy, balm-like, or soft mousse texture that spreads across the skin and can be blended with a brush, sponge, or fingertips.
Depending on the formula, it may provide a natural skin-like finish, a soft matte effect, or a subtle glow. Some products are highly pigmented, while others offer sheer color that can be built gradually.
Cream bronzer is commonly applied to areas where sunlight would naturally create warmth, such as the forehead, temples, upper cheeks, and along the jawline. It can also help make the complexion appear more dimensional when used with foundation and blush.
Bronzer and contour are not exactly the same. Bronzer generally adds warmth, while contour products are designed to create the appearance of shadows. Although some bronzers can provide a light sculpting effect, a very warm shade may not look like a natural shadow.
Benefits of Using Cream Bronzer
Cream bronzer offers several advantages, especially for people who enjoy makeup with a blended, skin-like appearance.
1. A Natural-Looking Finish
Many cream formulas blend smoothly into the complexion, creating a soft transition between the bronzed areas and the rest of the face.
When applied in thin layers, the product can add warmth without looking like a visible stripe of makeup. This makes it useful for natural daytime looks and more polished evening makeup.
2. Easy Blending
The creamy texture allows the product to spread gradually across the skin. A damp makeup sponge or soft synthetic brush can help diffuse the edges and prevent harsh lines.
Blending is especially important around the temples and jawline, where an obvious edge can make the makeup appear unnatural.
3. Suitable for Many Skin Types
Cream bronzers are available in different finishes, so people with dry, normal, combination, and oily skin can often find a suitable option.
Hydrating formulas may feel comfortable on dry skin, while lightweight or soft-matte products may suit people who prefer less shine. Those with oily skin can also use cream bronzer, although they may prefer to set selected areas with powder.
The formula matters more than the product category alone.
4. Buildable Color
Many cream bronzers allow you to begin with a small amount and add more as needed. This makes it easier to control the final result and reduces the risk of applying too much pigment at once.
A sheer layer can provide gentle warmth, while additional product can create a more noticeable bronzed effect.
5. Works Well With Cream Makeup
Cream bronzer pairs naturally with many liquid and cream complexion products. It can be applied over foundation and blended alongside cream blush for a coordinated finish.
The best results usually come from applying thinner layers and avoiding excessive rubbing, which can disturb the makeup underneath.
Different Types of Cream Bronzer
Cream bronzers come in several formats. Each has advantages depending on how you apply makeup and how much control you prefer.
Cream Bronzer Stick
A stick bronzer is packaged in a solid format that glides over the skin. It is convenient for travel, quick application, and targeted placement around the cheeks, temples, and forehead.
For better control, swipe the product onto a clean brush or the back of your hand instead of drawing several heavy lines directly onto the face.
Cream Bronzer in a Pot or Compact
These products have a soft cream texture housed in a small container. They can be applied with a brush, sponge, or clean fingertips.
A compact may be convenient for people who prefer to see and control the amount of product they pick up. Some formulas are more emollient, while others set to a soft-matte finish.
Whipped or Mousse Bronzer
Mousse-style products often feel airy and spread easily. Their texture may provide a soft-focus finish, although the degree of coverage and setting time varies by brand.
Apply these products in small amounts because some formulas become harder to blend once they begin to set.
Cream-to-Powder Bronzer
This type starts with a creamy texture and dries to a more powder-like finish. It may appeal to people who want the blendability of a cream product with less surface shine.
Depending on the formula, it may require quicker blending than a traditional creamy balm.
How to Choose the Right Cream Bronzer Shade
Choosing a flattering shade is one of the most important steps. A bronzer that is too orange, red, or dark can look artificial, even when the formula itself is excellent.
Fair Skin Tones
Fair complexions often look natural with light beige-brown, soft honey, or muted neutral-bronze shades.
Avoid choosing a shade that is dramatically darker than your natural skin tone. A highly pigmented product can be difficult to blend evenly when the color contrast is too strong.
For a subtle result, begin with a small amount and build the color slowly.
Light to Medium Skin Tones
Light-to-medium complexions can often wear golden beige, warm caramel, or neutral tan shades, depending on their undertones.
If your skin has a naturally pink undertone, a neutral brown may look more balanced than an intensely orange bronzer. Golden undertones may pair well with a gentle honey or caramel shade.
Medium to Deep Skin Tones
Medium-deep and deep complexions may benefit from richer bronze, chestnut, cocoa, or warm brown shades.
The goal is to create visible warmth without leaving a gray cast or making the color disappear into the skin. Testing the product in natural light can help you assess its undertone and intensity.
Deep Skin Tones
For deeper complexions, richly pigmented bronze and deep brown shades can provide warmth and definition. A product with enough color payoff is important because very pale bronzers may appear ashy or leave little visible effect.
Consider both the undertone and the finish. A shade that looks flattering in the packaging may appear different when blended across the face.
Consider Your Undertone
Skin undertones are often described as warm, cool, or neutral, although real skin coloring can be more complex.
- Warm undertones may pair well with golden or caramel bronzers.
- Cool undertones may look balanced with neutral brown shades rather than strongly orange formulas.
- Neutral undertones can often wear a broader range of colors.
These are starting points, not strict rules. Your preferred makeup style and the overall look you want also matter.
How to Apply Cream Bronzer Step by Step
Cream bronzer is relatively easy to use once you understand placement and blending. The following routine can help create a soft, natural-looking result.
Step 1: Prepare Your Skin
Start with skincare suited to your skin type. Allow moisturizer and sunscreen to settle before applying makeup.
If you wear foundation, apply and blend it first. A smooth base can make bronzer easier to distribute evenly.
Step 2: Choose Your Tool
A soft synthetic brush is useful for controlled placement and blending. A damp makeup sponge can diffuse the color, while clean fingertips may work well with softer formulas.
If you use a stick bronzer, avoid pressing the stick firmly into the foundation. Picking up product with a brush can help prevent the base from shifting.
Step 3: Apply a Small Amount
Begin with a little product on the back of your hand or directly on your brush. You can always add more, but removing excessive pigment without disturbing foundation may be difficult.
For most everyday looks, a light layer provides enough warmth.
Step 4: Place the Product Strategically
Common placement areas include:
- Temples: Blend along the sides of the forehead for gentle warmth.
- Forehead: Apply near the hairline, especially if you want a sun-kissed effect.
- Upper cheeks: Place the product slightly above the hollow of the cheeks and blend outward.
- Jawline: Use a small amount to soften the transition between the face and neck.
- Nose: If desired, apply a very small amount along the sides for a lightly bronzed look.
You do not need to use every placement area. Choose the areas that complement your face shape and preferred style.
Step 5: Blend the Edges
Use small circular, tapping, or sweeping movements, depending on the formula and tool. Blend outward and upward around the cheeks and temples to avoid visible lines.
Near the jawline, blend carefully so the face and neck look harmonious. If the product becomes patchy, use a clean sponge or brush to soften the edges rather than adding more bronzer.
Step 6: Build the Color Gradually
Check the result before adding another layer. If you want more warmth, apply a little more product to the areas where you want the color to be most noticeable.
Gradual application gives you more control and usually creates a more natural finish than applying a heavy layer immediately.
Step 7: Set If Needed
Some cream bronzers dry down and do not require powder. Others remain dewy and may transfer more easily.
If you want additional longevity, lightly apply a compatible bronzer powder over the cream or use a small amount of translucent setting powder on areas that become oily. Too much powder can make the complexion look dry or heavy.
Cream Bronzer vs. Powder Bronzer
Both formats can create beautiful results, but their textures and application styles differ.
Cream bronzer generally offers a blended, skin-like finish and works particularly well with cream or liquid complexion products. It can be easy to build in thin layers, although some formulas require more care when setting.
Powder bronzer is often convenient for quick application, oily areas, and touch-ups. It can also be easier to layer over a powdered base without disturbing the foundation.
Neither option is universally better. Cream bronzer may suit someone who enjoys dewy makeup, while powder bronzer may be preferable for someone who likes a more matte finish.
You can also use both formats together. Apply cream bronzer first, blend it thoroughly, and then add a small amount of powder bronzer if you want more intensity or staying power.
Cream Bronzer vs. Contour
Bronzer and contour can both add dimension, but they serve different purposes.
Bronzer adds warmth and often creates the impression of skin that has been gently touched by the sun. Its shades commonly contain golden, caramel, or warm-brown tones.
Contour is intended to mimic natural shadows. Contour shades are therefore often more neutral or cool, depending on the person’s skin tone.
For a simple makeup routine, bronzer may be enough to add warmth and subtle definition. If you want a more sculpted appearance, you can use contour in the hollows of the cheeks or other areas where you want to create a shadow.
Avoid using an extremely orange bronzer as a substitute for contour if your goal is a realistic shadow effect.
Common Cream Bronzer Mistakes
Even a high-quality product can look uneven when applied incorrectly. A few adjustments can make a noticeable difference.
Using Too Much Product
A thick layer can be difficult to blend and may leave visible patches. Start with a small amount and increase the intensity gradually.
Choosing an Unflattering Undertone
A bronzer that is too orange, red, or ashy can look disconnected from the rest of your complexion. Test the color on your skin rather than relying entirely on how it looks in the packaging.
Applying Over an Unsettled Base
If foundation or skincare is still very wet, blending may cause the products to move around. Allow layers to settle and use gentle pressure when applying bronzer.
Blending Too Aggressively
Rubbing hard can remove foundation and create uneven areas. Try tapping or lightly sweeping with a soft brush or sponge.
Ignoring the Neck and Hairline
A visible color boundary near the hairline or jawline can make makeup look unnatural. Blend these areas carefully and use only the amount of product needed.
Layering Too Many Products
Combining several bronzers, powders, and setting products can sometimes create unnecessary texture. Choose the steps that support your desired finish rather than adding every product available.
Tips for Different Skin Types
Dry Skin
Look for a formula that blends smoothly without emphasizing flaky areas. Moisturize appropriately before makeup and avoid excessive powder.
If your skin is visibly irritated or peeling, focus on gentle skincare and consider skipping makeup on affected areas until they recover.
Oily Skin
Choose a cream bronzer with a finish you find comfortable, including lightweight or soft-matte options. Apply a thin layer and set only where necessary.
Blotting excess oil before touch-ups may work better than adding repeated layers of powder throughout the day.
Combination Skin
You may prefer a flexible routine that treats different parts of your face differently. A cream bronzer can provide warmth, while powder can be used selectively on the forehead, nose, or chin.
Sensitive Skin
Check the ingredient list and patch-test a new product when appropriate. Avoid applying makeup over inflamed, broken, or irritated skin.
Fragrance-free formulas may be a useful option for people who know that fragrance triggers their skin sensitivity, although individual reactions vary.
How to Make Cream Bronzer Last Longer
Longevity depends on the product formula, skin preparation, weather, and the rest of your makeup routine.
Start with a clean, appropriately moisturized base. Apply foundation and bronzer in thin layers, allowing each product to settle before adding the next.
If your bronzer remains creamy on the skin, a light layer of compatible powder may help reduce transfer. Avoid excessive powdering, which can create a dry or textured appearance.
For touch-ups, blot excess oil first and then apply a small amount of product only where the color has faded. Repeatedly layering bronzer over oily skin can make the makeup uneven.
Always follow the manufacturer’s instructions, especially for products designed to set quickly.
How to Remove Cream Bronzer
At the end of the day, remove makeup gently rather than scrubbing the skin.
A suitable makeup remover, cleansing balm, or cleansing oil can help dissolve long-wearing and water-resistant products. Follow with a gentle facial cleanser if needed.
Avoid rubbing aggressively around the eyes or over sensitive areas. Pat the skin dry and apply your usual moisturizer.
If a product causes persistent redness, itching, swelling, or burning, discontinue use. Seek medical advice if the reaction is severe or does not improve.
Conclusion
Cream bronzer is a versatile complexion product that can add warmth, dimension, and a natural-looking glow to many makeup styles. Its creamy texture makes it useful for blending with liquid and cream products, while its buildable color allows you to create anything from subtle everyday warmth to a more defined finish.
Choosing a flattering shade, using a small amount, and blending carefully are the keys to a successful application. Your skin type, preferred finish, and makeup routine should guide your choice of formula.
With the right technique and a little practice, cream bronzer can become a simple and effective part of your everyday makeup routine.
Frequently Asked Questions (FAQs)
1. What is cream bronzer used for?
Cream bronzer adds warmth to the complexion and creates a sun-kissed appearance. It is commonly applied to the forehead, temples, upper cheeks, and jawline.
2. Is cream bronzer better than powder bronzer?
Neither is best for everyone. Cream formulas often create a skin-like finish and blend well with liquid makeup, while powder formulas can be convenient for oily skin and quick touch-ups.
3. Should I apply cream bronzer before or after foundation?
Cream bronzer is generally applied after foundation and before setting powder. Use gentle blending motions to avoid disturbing the base underneath.
4. Can I use cream bronzer on oily skin?
Yes. Choose a formula with a finish you like, apply it in a thin layer, and set selected areas with powder if needed. Cream products are not automatically unsuitable for oily skin.
5. How do I choose the right shade?
Consider your skin depth, undertone, and desired effect. The shade should add warmth without looking excessively orange, gray, or dramatically darker than your complexion.
6. Can I apply cream bronzer with my fingers?
Yes. Clean fingertips can work well with some creamy formulas. A synthetic brush or makeup sponge may provide more controlled placement and blending.
7. Do I need to set cream bronzer with powder?
Not always. Some formulas dry down and last well on their own, while others remain dewy or transfer easily. A light layer of compatible powder can help when additional staying power is needed.
8. Can cream bronzer replace contour?
It can provide subtle definition, but bronzer primarily adds warmth while contour creates the appearance of shadows. For a sculpted effect, a suitable contour shade may provide a more realistic result.
9. How can I stop cream bronzer from looking patchy?
Use a small amount, allow your foundation to settle, and blend with gentle tapping or sweeping motions. Avoid pressing too hard or repeatedly rubbing the same area.
10. How do I remove cream bronzer at night?
Use a makeup remover, cleansing balm, or cleansing oil suitable for your skin, followed by a gentle cleanser if needed. Remove the product without harsh scrubbing and moisturize afterward.