Milky White Nails: Designs, Ideas and Tips for a Beautiful Manicure
Introduction
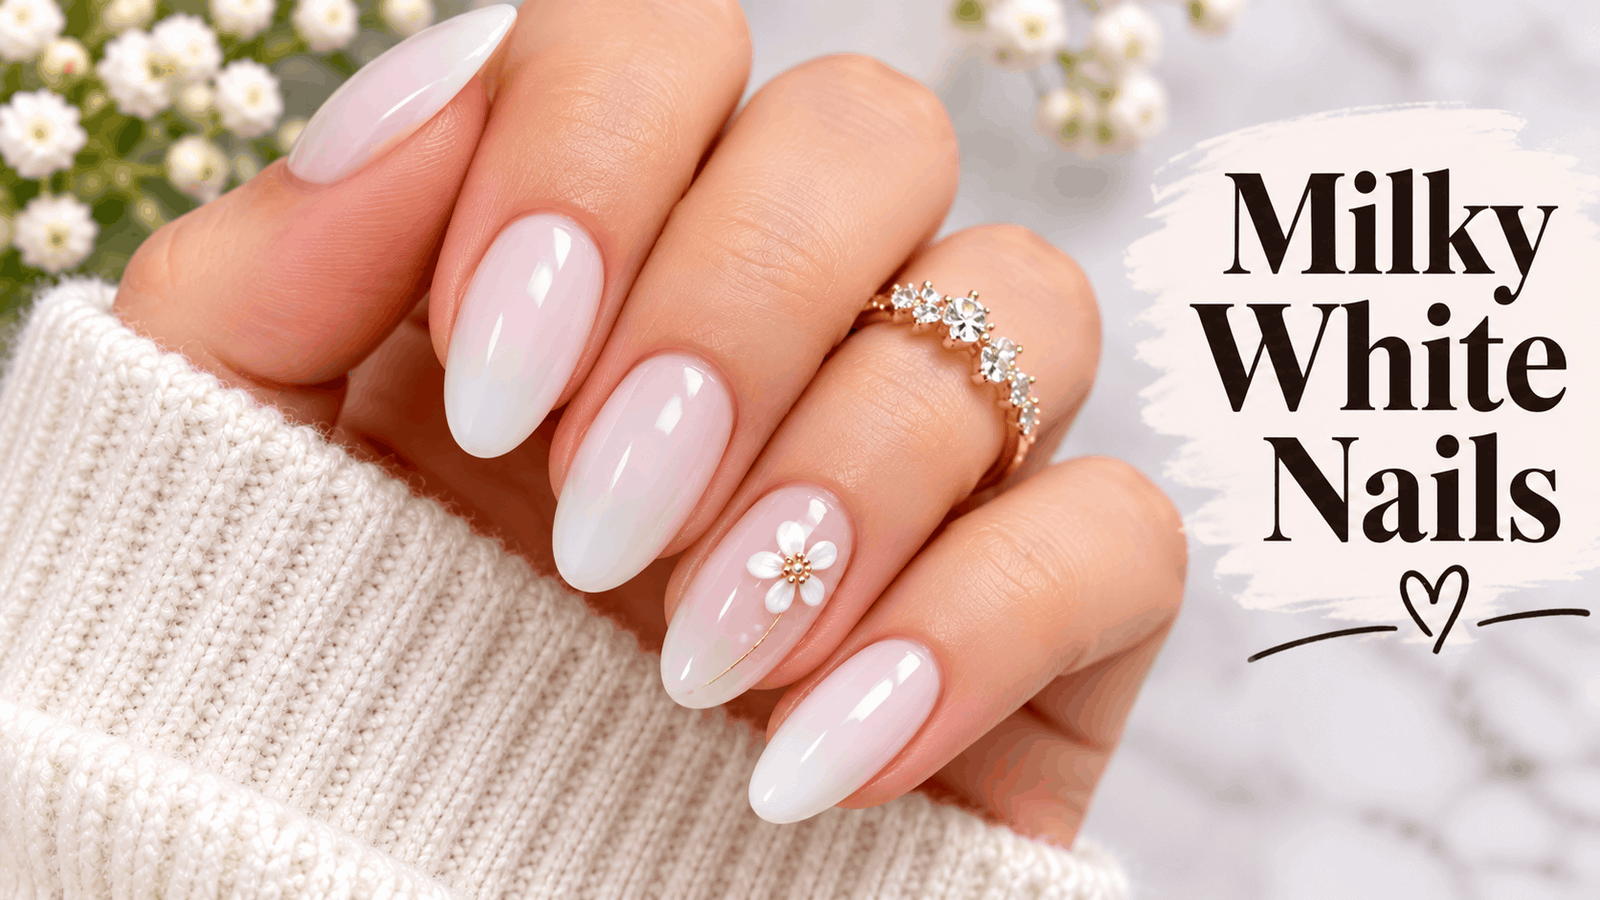
Some nail trends make a statement through bold colors and detailed artwork, while others stand out because of their simplicity. Milky white nails belong to the second category. With their soft, creamy appearance and naturally glossy finish, they create an elegant manicure that feels fresh, polished, and effortlessly stylish.
Unlike traditional white nail polish, which often looks bright and completely opaque, this manicure has a slightly translucent quality. It allows a hint of the natural nail to show through, creating a delicate finish that works beautifully with different nail lengths, shapes, and personal styles.
Whether you prefer short natural nails, long almond extensions, a classic French manicure, or subtle decorative details, this versatile look offers plenty of possibilities.
What Are Milky White Nails?
Milky white nails feature a creamy white polish with a semi-sheer or softly opaque finish. The color resembles a glass of milk, creating a smooth appearance without the intensity of traditional bright white polish.
The effect can be customized by adjusting the number of polish layers. One thin coat creates a translucent appearance, while additional layers produce a richer, creamier finish.
The manicure is popular because it combines the simplicity of neutral nails with the clean appearance of a white manicure. It can look natural enough for everyday activities while remaining sophisticated for weddings, celebrations, and professional settings.
Why Are Milky White Nails So Popular?
This manicure continues to attract attention because it is simple, adaptable, and easy to personalize.
1. Elegant appearance: The creamy shade creates a refined finish without requiring complicated nail art.
2. Versatile styling: It complements casual outfits, formal clothing, bridal looks, and everyday fashion.
3. Suitable for different lengths: Short natural nails and long extensions can both look attractive with this color.
4. Easy to customize: Chrome powder, glitter, pearls, floral details, and French tips can transform the basic manicure.
5. Timeless appeal: Soft neutral shades rarely feel as overwhelming as highly saturated colors, making this style suitable throughout the year.
Beautiful Milky White Nail Designs to Try
The best part of this manicure is how easily it can be adapted. Here are some attractive ideas worth considering before your next salon appointment.
1. Classic Glossy Milky White
A simple glossy finish is one of the most timeless options. The nails are covered with a creamy white shade and sealed with a shiny topcoat.
This design is ideal for anyone who prefers a clean manicure without decorations. It looks especially attractive on neatly shaped short, square, oval, and almond nails.
2. Milky White French Tips
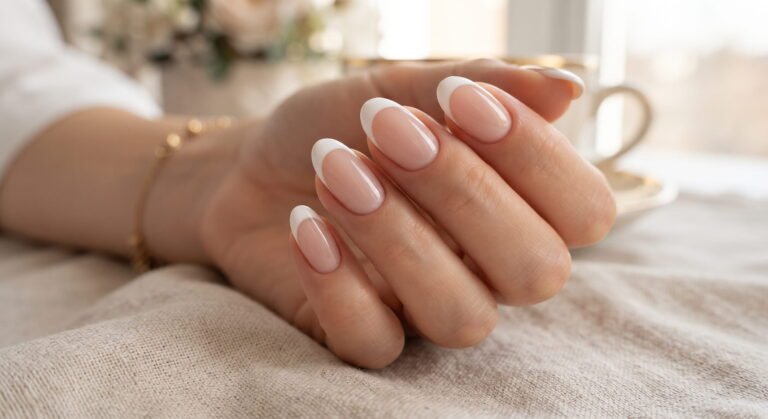
Give the traditional French manicure a softer appearance by using a translucent milky base instead of a conventional pink or nude shade.
Add delicate white tips for a polished result. You can choose narrow tips for a minimal appearance or slightly thicker edges for a more noticeable design.
3. Milky White Ombre Nails
Ombre nails create a beautiful transition between two complementary shades.
A popular combination blends soft pink near the cuticle with creamy white toward the tips. The gradual color transition gives the manicure a delicate, romantic appearance.
This design is particularly attractive on almond and coffin-shaped extensions.
4. Pearl Chrome Milky Nails
For a subtle glamorous effect, add a fine pearl or chrome finish over a milky white base.
The reflective surface produces a delicate glow that changes slightly under different lighting conditions. It is an excellent choice for weddings, parties, and special occasions.
5. Milky White Nails With Gold Details
Gold accents add warmth and sophistication without overpowering the neutral background.
Try thin gold lines, tiny metallic dots, delicate foil, or a small gold decoration on one or two accent nails. Keeping the details minimal helps preserve the manicure’s elegant character.
6. Milky White Floral Nails
Small flowers can make a simple manicure look more romantic and feminine.
Choose tiny white flowers, pastel petals, or delicate botanical patterns over the creamy base. You can decorate every nail lightly or keep the artwork limited to one or two fingers.
7. Milky White Glitter Nails
A little sparkle can transform a basic manicure into something suitable for celebrations.
Apply fine silver, champagne, or pearly glitter over the base. Another option is to keep most nails plain and use glitter on the ring fingers.
8. Milky White Short Nails
You do not need long extensions to enjoy this style. A sheer milky finish can make short nails look neat and well-groomed.
Choose a rounded, oval, or soft-square shape depending on your natural nail structure. A glossy topcoat completes the understated appearance.
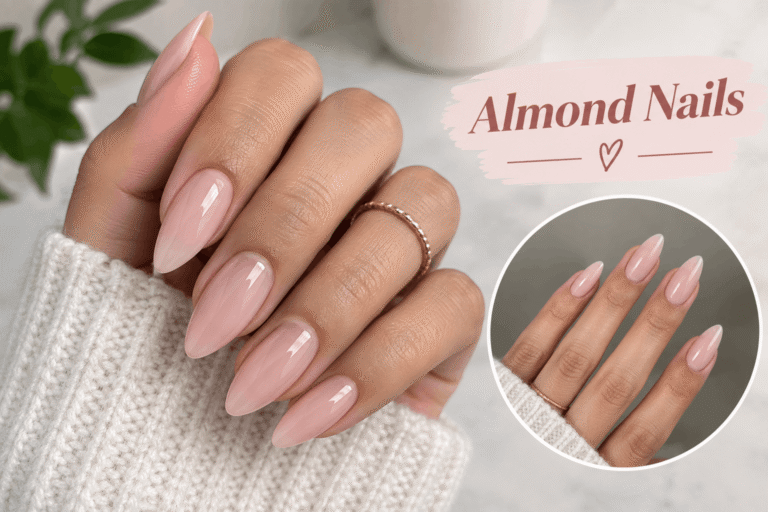
9. Milky White Almond Nails
Almond nails have tapered sides and a softly rounded tip. Their elongated appearance pairs beautifully with creamy neutral shades.
You can keep the manicure completely plain or add a subtle chrome effect for extra dimension.
10. Milky White With Tiny Rhinestones
Small rhinestones add decorative detail while allowing the base color to remain the main focus.
Place one or two stones near the cuticle or create a delicate arrangement on an accent nail. Avoid excessive embellishments if you want to maintain a refined appearance.
11. Milky White Swirl Nails
Thin white, nude, or champagne-colored swirls create movement across the nail surface.
This design works well for people who enjoy nail art but prefer something softer than bold patterns. The curves can be placed diagonally, vertically, or along the edges.
12. Milky White Bridal Nails
A creamy white manicure is a beautiful option for brides who want something elegant and understated.
Pearl accents, delicate French tips, fine shimmer, or a subtle pink gradient can complement wedding dresses without competing with the overall look.
Best Nail Shapes for This Manicure
The right nail shape can make the same polish look completely different. Fortunately, this shade works with many popular silhouettes.
- Almond: Creates an elongated, graceful appearance.
- Square: Gives the manicure a clean and structured finish.
- Oval: Offers a natural and softly rounded look.
- Coffin: Provides a modern appearance, especially on longer extensions.
- Short round: A practical option for people who prefer natural nails.
- Squoval: Combines the neat appearance of square nails with softened corners.
Choose a shape that suits your natural nail length, lifestyle, and personal comfort rather than following a trend that may not be practical.
How to Choose the Right Milky White Shade
Not every creamy white polish has the same undertone or opacity. Some look cooler and brighter, while others contain subtle beige, ivory, or pink undertones.
Cool milky white: This shade has a slightly crisp appearance and may suit people who prefer cooler-toned manicures.
Warm milky white: Creamy or ivory undertones create a softer, warmer effect.
Pinkish milky white: A subtle pink tint produces a delicate, natural-looking manicure.
Neutral milky white: A balanced shade offers a classic appearance without looking too warm or too cool.
If possible, test the polish against your natural nail before committing to a full manicure. The final result can also vary depending on your natural nail color and the number of layers applied.
How to Create Milky White Nails at Home
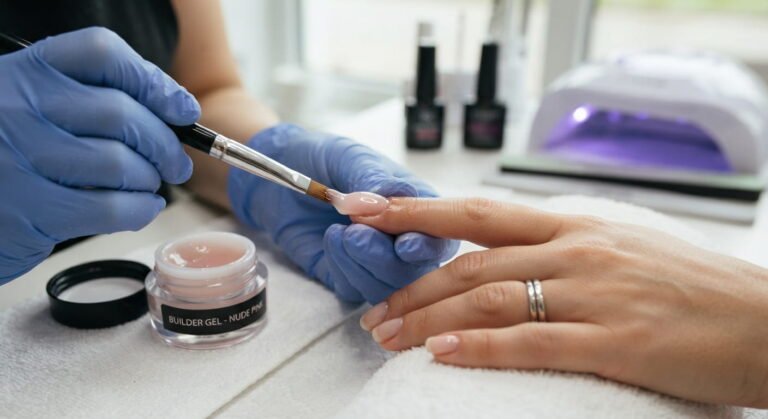
You can achieve this look at home using regular nail polish or suitable gel products. Careful preparation and thin application layers are important for a smooth finish.
Step 1: Clean Your Nails
Remove any existing polish and wash your hands. Make sure the nail surface is clean and completely dry.
Step 2: Shape the Nails
Use a nail file to create your preferred shape. Smooth rough edges and gently refine the corners.
Step 3: Prepare the Cuticles
Carefully push back the cuticles without cutting living skin. Avoid aggressive trimming, as it can cause irritation or injury.
Step 4: Apply a Base Coat
A suitable base coat helps create a smoother surface and improves the appearance of the finished manicure.
Step 5: Apply Milky White Polish
Apply one thin layer of creamy white polish and allow it to dry. Add another thin layer if you want more coverage.
Avoid applying thick coats because they can create uneven texture, bubbles, or longer drying times.
Step 6: Add Nail Art
If desired, add small flowers, glitter, chrome effects, or French tips once the base is properly set.
Step 7: Finish With a Topcoat
Apply a glossy topcoat to protect the manicure and enhance its shine. Follow the product instructions for drying or curing.
Gel Polish vs. Regular Nail Polish
Both options can produce a beautiful milky finish, but they offer different experiences.
| Feature | Regular polish | Gel polish |
|---|---|---|
| Application | Air dries | Requires curing under a suitable lamp |
| Finish | Glossy or natural | Usually long-lasting and glossy |
| Removal | Often removed with polish remover | Requires the correct gel removal method |
| Maintenance | May need more frequent repainting | Usually requires salon maintenance |
| Best for | Simple home manicures | People who prefer longer-lasting results |
Gel polish should be applied and removed carefully. Peeling or picking it off can damage the natural nail plate. Avoid getting uncured gel on the skin, and follow the manufacturer’s safety instructions.
Tips to Make Your Manicure Last Longer
A little maintenance can help preserve the appearance of your nails.
- Apply cuticle oil regularly to keep the surrounding skin comfortable.
- Wear protective gloves when washing dishes or using household cleaning products.
- Avoid using your nails to open containers or scrape hard surfaces.
- Apply a fresh topcoat when recommended for your polish system.
- Avoid picking, biting, or peeling the polish.
- Keep your nails at a practical length to reduce accidental breakage.
- Give your natural nails a break if they become thin, painful, or damaged.
Light-colored manicures can also show staining from cosmetics, hair dye, and strongly colored foods. Taking care during these activities helps keep the finish looking fresh.
Common Mistakes to Avoid
Even a simple manicure can look uneven if the application is rushed.
Applying thick layers: Thick polish may dry unevenly and create visible bumps. Use thin coats instead.
Skipping nail preparation: Oil, dust, and rough surfaces can affect how evenly the polish sits.
Choosing the wrong undertone: A very cool or warm white may not produce the appearance you expected. Test the shade first.
Overdecorating: Too many gems, metallic details, and patterns can hide the beauty of the creamy base.
Ignoring nail health: Pain, redness, swelling, or nail separation should not be covered with additional products. Allow the area to be assessed when necessary.
Are Milky White Nails Suitable for Every Occasion?
Yes. Their neutral appearance makes them easy to adapt to different settings.
For work or everyday activities, a simple glossy finish or short oval shape looks neat without attracting too much attention.
For weddings, pearl details, subtle shimmer, or a soft French design can create a romantic effect.
To parties, chrome powder, glitter accents, or decorative nail art can make the manicure more noticeable.
During warmer months, sheer finishes and floral details feel fresh, while creamy shades and pearl effects can also complement winter outfits.
Conclusion
Milky white nails offer a beautiful balance between natural simplicity and polished elegance. Their creamy, slightly translucent appearance makes them suitable for short natural nails, long extensions, bridal manicures, and everyday styling.
From classic glossy finishes and delicate French tips to pearl chrome, floral artwork, and soft ombre effects, there are many ways to personalize this versatile look. Choosing a flattering shade, preparing the nails properly, and applying thin layers can help create a smooth and attractive result.
Whether you prefer a completely minimal manicure or a design with subtle decoration, this soft neutral style is an easy choice for anyone who appreciates timeless nail beauty.
Frequently Asked Questions
1. What are milky white nails?
They are a manicure style featuring creamy white polish with a semi-sheer or softly opaque finish. The result looks softer and more natural than traditional bright white polish.
2. Are milky white nails still fashionable?
Yes. Their neutral appearance and versatility continue to make them a popular choice for minimalist, bridal, and modern nail designs.
3. Do milky white nails look good on short nails?
Absolutely. Short, rounded, oval, and square nails can all look attractive with this shade. A glossy finish helps create a neat appearance.
4. Which nail shape looks best with milky white polish?
Almond, oval, square, and coffin shapes all work well. The best option depends on your preferred length and natural nail structure.
5. Can I create this manicure at home?
Yes. You need nail polish, a base coat, a file, and a topcoat. Applying thin layers and allowing adequate drying time helps achieve a smoother result.
6. What is the difference between milky white and regular white nails?
Regular white polish often has a bright, opaque appearance. Milky white polish is usually softer and slightly translucent, creating a creamy effect.
7. Can milky white nails be used for weddings?
Yes. They are a popular bridal option because they complement wedding dresses and look elegant in photographs. Pearl accents and delicate French tips are attractive additions.
8. What colors look good with a milky white base?
Soft pink, nude, beige, silver, gold, champagne, and pastel shades complement this manicure. These combinations create different looks without overwhelming the base color.
9. How can I prevent my white manicure from becoming stained?
Wear gloves when handling strongly colored products, avoid unnecessary contact with hair dye, and protect your nails during cleaning. A suitable topcoat can also help protect the finish.
10. Are milky white nails better with gel or regular polish?
Both can create attractive results. Regular polish is convenient for home use, while gel polish generally provides a longer-lasting finish when applied and removed correctly.